I'm building a couple of 2 x 12 open back speaker cabs for use with a soon to be purchased
Crate Power Block guitar amp, and any future tube amps that I may build.
I've had the Jenson speakers that I'm using packed away in their boxes since 1968.
I bought them for a failed guitar amp project that I attemped when I was much younger.
I hope they don't fall apart when I fire them up, but they are supposed to have a life time warranty
If you find any of my techniques useful, that's great, but be forewarned... I have no idea what I'm doing!!!
Last updated 08/27/2006.
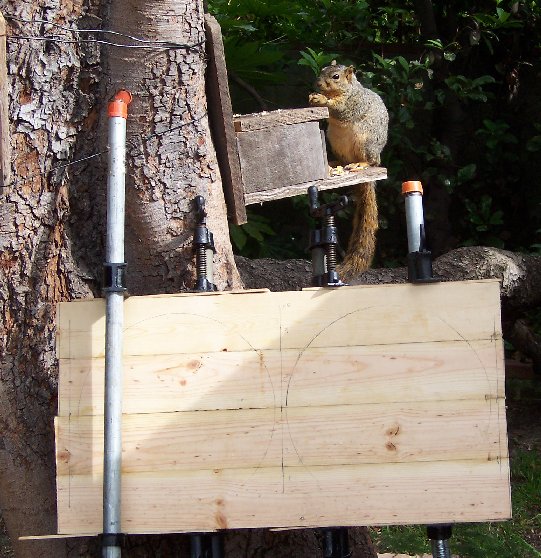
This is the start of the baffle board.
It's made of 1 x 4 pine boards glued together with a few dowel pegs inserted in the edges for extra strength.
I don't know how much stronger the pegs make it, but it sure made it easier to fit together and clamp up with the bar clamps.
The circles were just to give me an idea of where the speakers would be, so I could wouldn't put dowel pegs in an area that was going to be cut out.
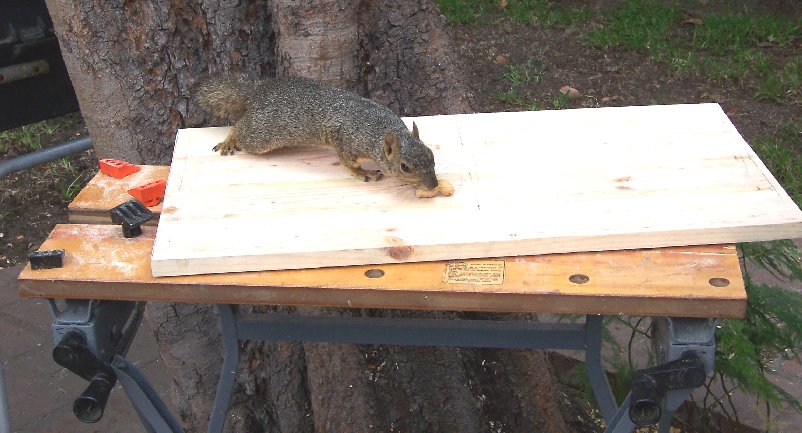
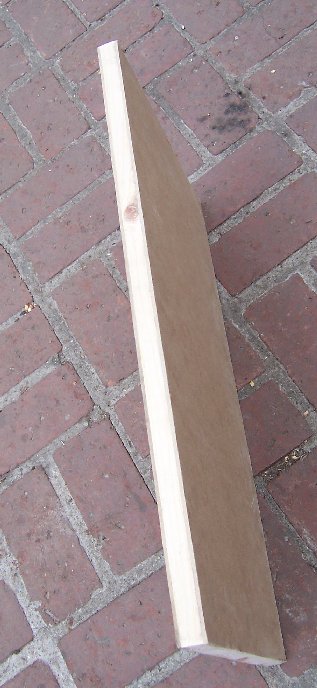
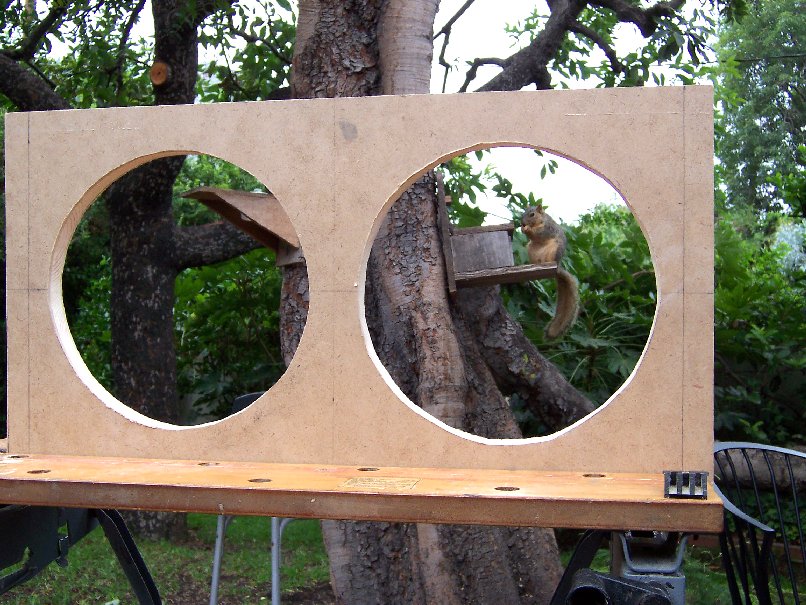
Here's the baffle board after trimming and cleaning up.
For additional strength, a smoother surface, and to make me feel better, I laminated both sides with 1/8" hardboard.
Since construction lumber is no longer what the numbers imply, this made the actual thickness of the baffle board a full inch.
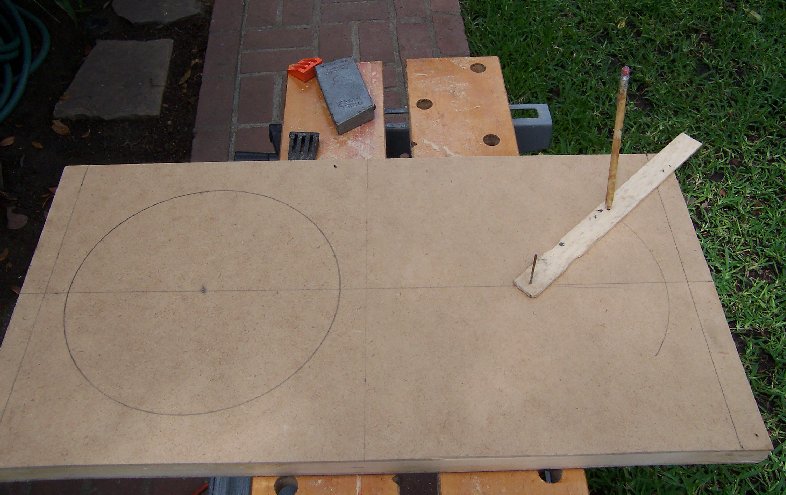
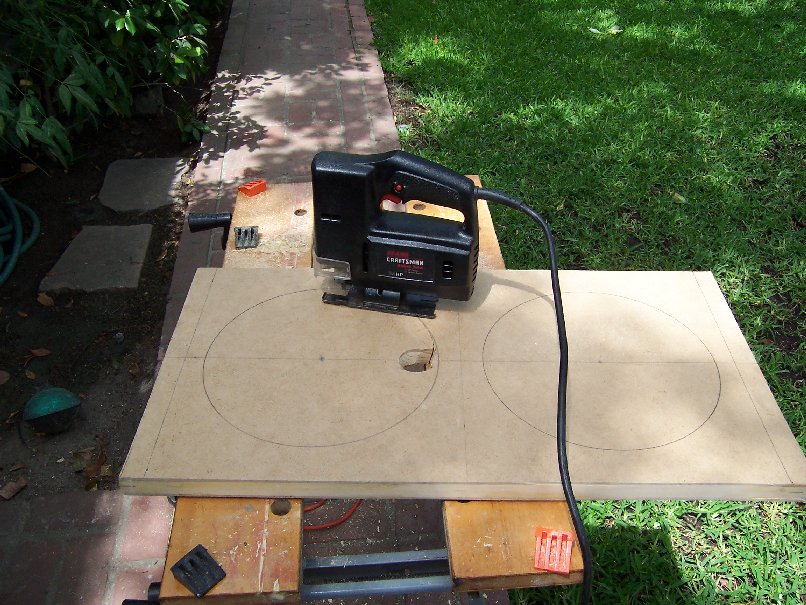
To draw the circles, I made a compass out of a wood paint stirring stick.
I drew the circles on both the top and bottom of the board, because due to the saw blade bending, it would have to be trimmed on both sides.
I bore a hole for a starting point, and used a sabre saw to cut out the circles.
After touching up with a round file, and a drum sanding attachement on my drill, I have two round holes. Well, almost round...
close enough for government work
I've got the top, bottom, and sides together here. I cut them from a 1 x 12 board (so it's really 3/4 x 11 1/4). The boards are butt joined,
with 2 x 2 braces in the corners. The furring strips between the braces will be used to mount the baffle board in the front, and partial panels,
in the back. I also used my router to round off all the outside edges, and I filled in all the screw holes.
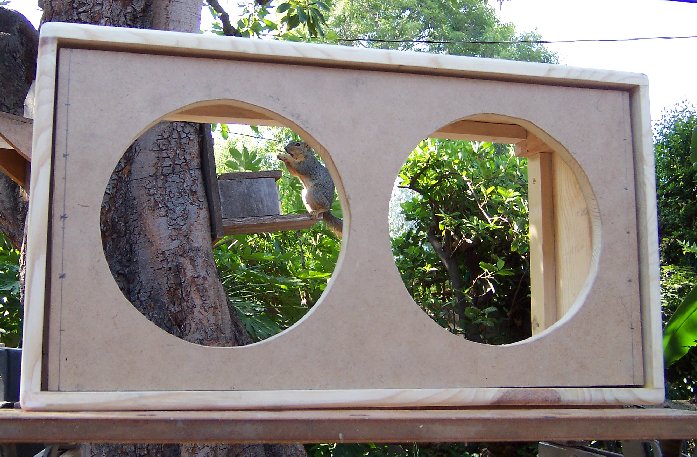
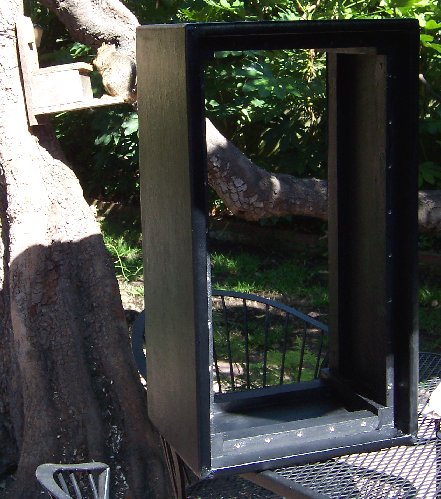
Here it is with the baffle board sitting inside the cabinet. It looks like this is going to work, so I placed an order for grill cloth, a terminal panel, and handles with Parts Express which should arrive next week.
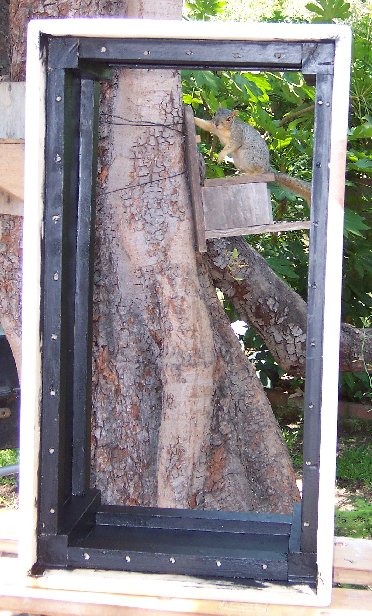
I painted all the inside wood (and then some) black.
The bolts around the outside are aligned with holes in the furring strip cleats inside the main frame. I think I might have used twice as many
as I needed. They will secure the baffle board to the frame. The bolts around the cutouts are of course to mount the speaker drivers.
The heads of the bolts are countersunk, glued in and covered. That is to hold them in place when I tighten up the nuts,
since the front will be covered with grill cloth *. I'm sure there is a better way of doing it, but that's what came to mind.
After receiving a tip, I added a 1 inch wide 1/4 inch thick strip around the front of the baffle board.
This is to hold the grill cloth above the baffle board speaker cutouts. It's suppose to prevent the grill cloth from rattling.
Tommorow, I'll get the vinyl to cover the cab. Also the grill cloth and terminal panels should arrive (almost like "Just In Time"
inventory control for you manufacturing types ). The handles were out of stock, but have been backordered.
* Update - The glued in bolts idea was only partially successful. Some bolts didn't turn while they were tightened, and some had to have their ends
held in place with Vise Grips while the nut was tightened. I came up with a better, and really simple idea for the 2nd cab. I countersunk a washer
and nut on the other side of the baffle board. That holds the bolts firmly in place, and the baffle board still mounts flush against the cleats, and
the speakers mount flush against the baffle board.
It doesn't show up very well in this picture, but I've got the vinyl on now. The Parts Express order arrived on schedule, so I should be able to
just about complete this tomorrow.
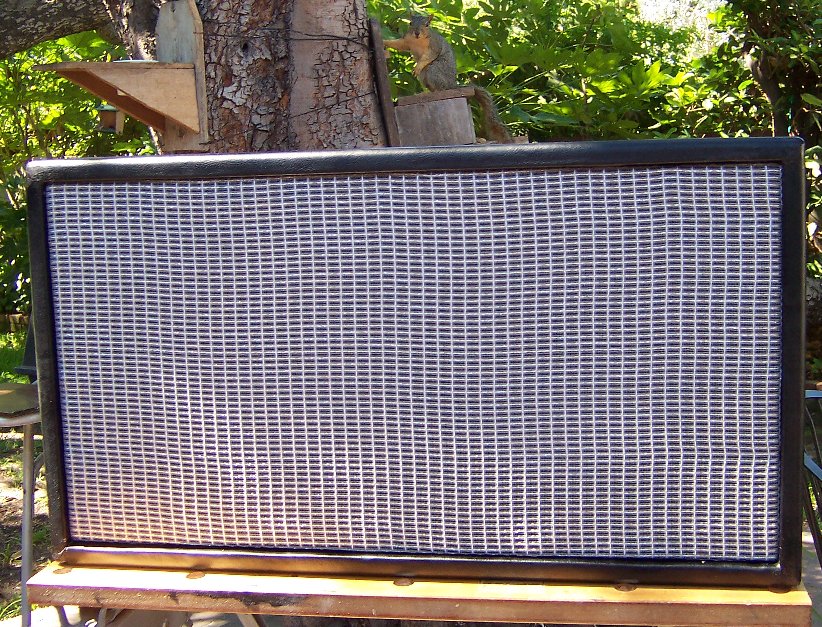
Ta Tah!
Looks like it could be on the Guitar Center display floor... if you don't get too close
If the grill cloth looks a little psychedelic, it's the result of optics and display resolution. In real life, it pretty much looks like the standard
Fender cloth.
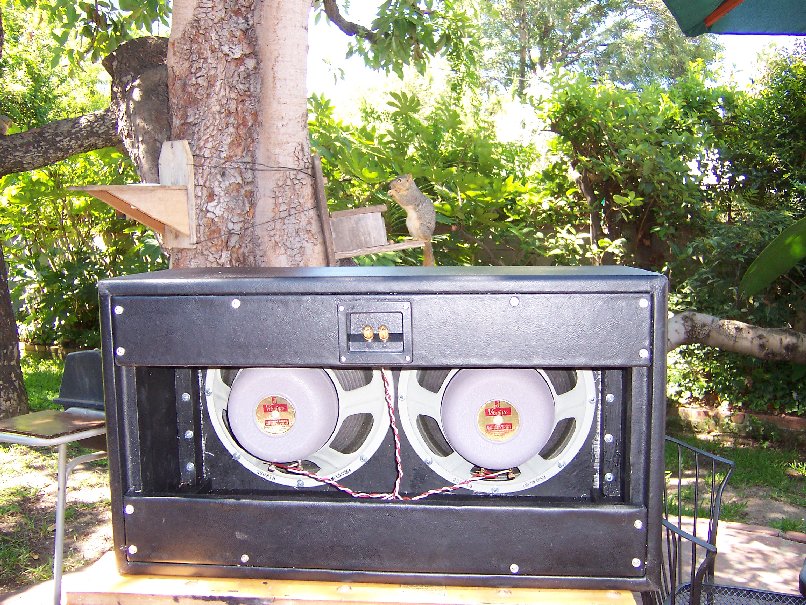
Here's the Back.
Tomorrow, I'm going to try it out with my band mate's Crate amp. If it sounds ok, I'll get my own.
Still to be done.
Install a handle when it arrives.
Maybe install corner protectors. I still haven't acquired the skill of doing good vinyl corners.
Maybe install casters. This sucker is small, but heavy.
If I don't install casters, I'll install some feet.
Add a standard 1/4" jack in parallel with the binding posts, because the 1/4" jack is more standard.
Update 08/11/07 -
The Crate Power Block was purchased yesterday. This amp can be
very loud, even when just using it at 1/2 power.
I've started to build the 2nd cab.
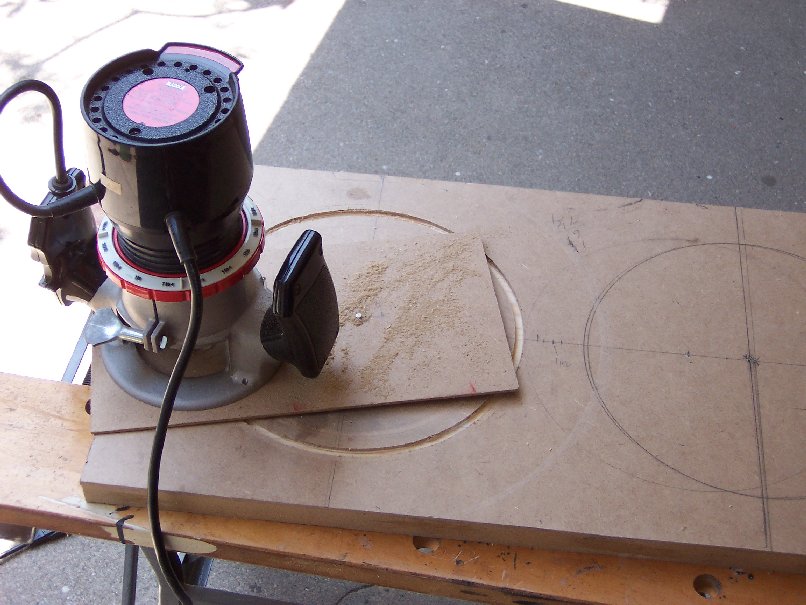
This time I thought I'd try using my router to make the speaker cutouts. I would have used it for the first cab, but I didn't want to
buy an expensive circle guide for my router. I've since learned that it is very easy to make your own router guide. The one I'm using
in the picture is made from a piece of scrap 1/8" hardboard.
It was a lot easier and faster to make the cutouts with the router.
And as you can see, it made nice circular holes.
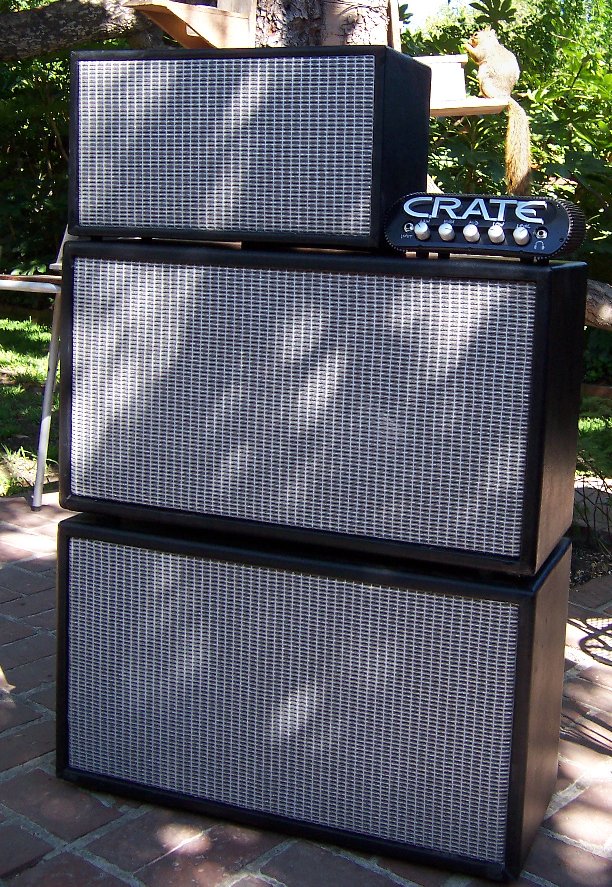
Finally finished!
Here are the two speaker cabs, the reverb and the amp.
Due to my experience with the grill cloth on the 1st cab, I was able to do a neater job on the 2nd cab... which made me unhappy
with the way the 1st cab and reverb looked. So, I went back and straightened out the grill cloth on the reverb and the 1st cab.
This made me think it might have been a good idea to attach the grill cloth to a seperate frame, and attach it to the cab with
heavy duty velcro, as is done with hi-fi speakers (and my reverb). It would make it much easier to clean and repair/replace the grill.